开源改变世界

无头界面 #717

推推 grbl 2年前 (2023-01-22) 164次浏览
打开
vince87 打开了这个问题 2015 年 5 月 29 日 · 66条评论
打开

无头界面#717

vince87 打开了这个问题 2015 年 5 月 29 日 · 66条评论

注释

无头界面 #717

嗨,我创建了一个小草图,允许 grbl 在没有 PC 的情况下运行,你需要:
2 个 arduino(1 个用于 GRBL,1 个用于控制)
1x LCD shield
1x SD shield

https://codebender.cc/sketch:119423

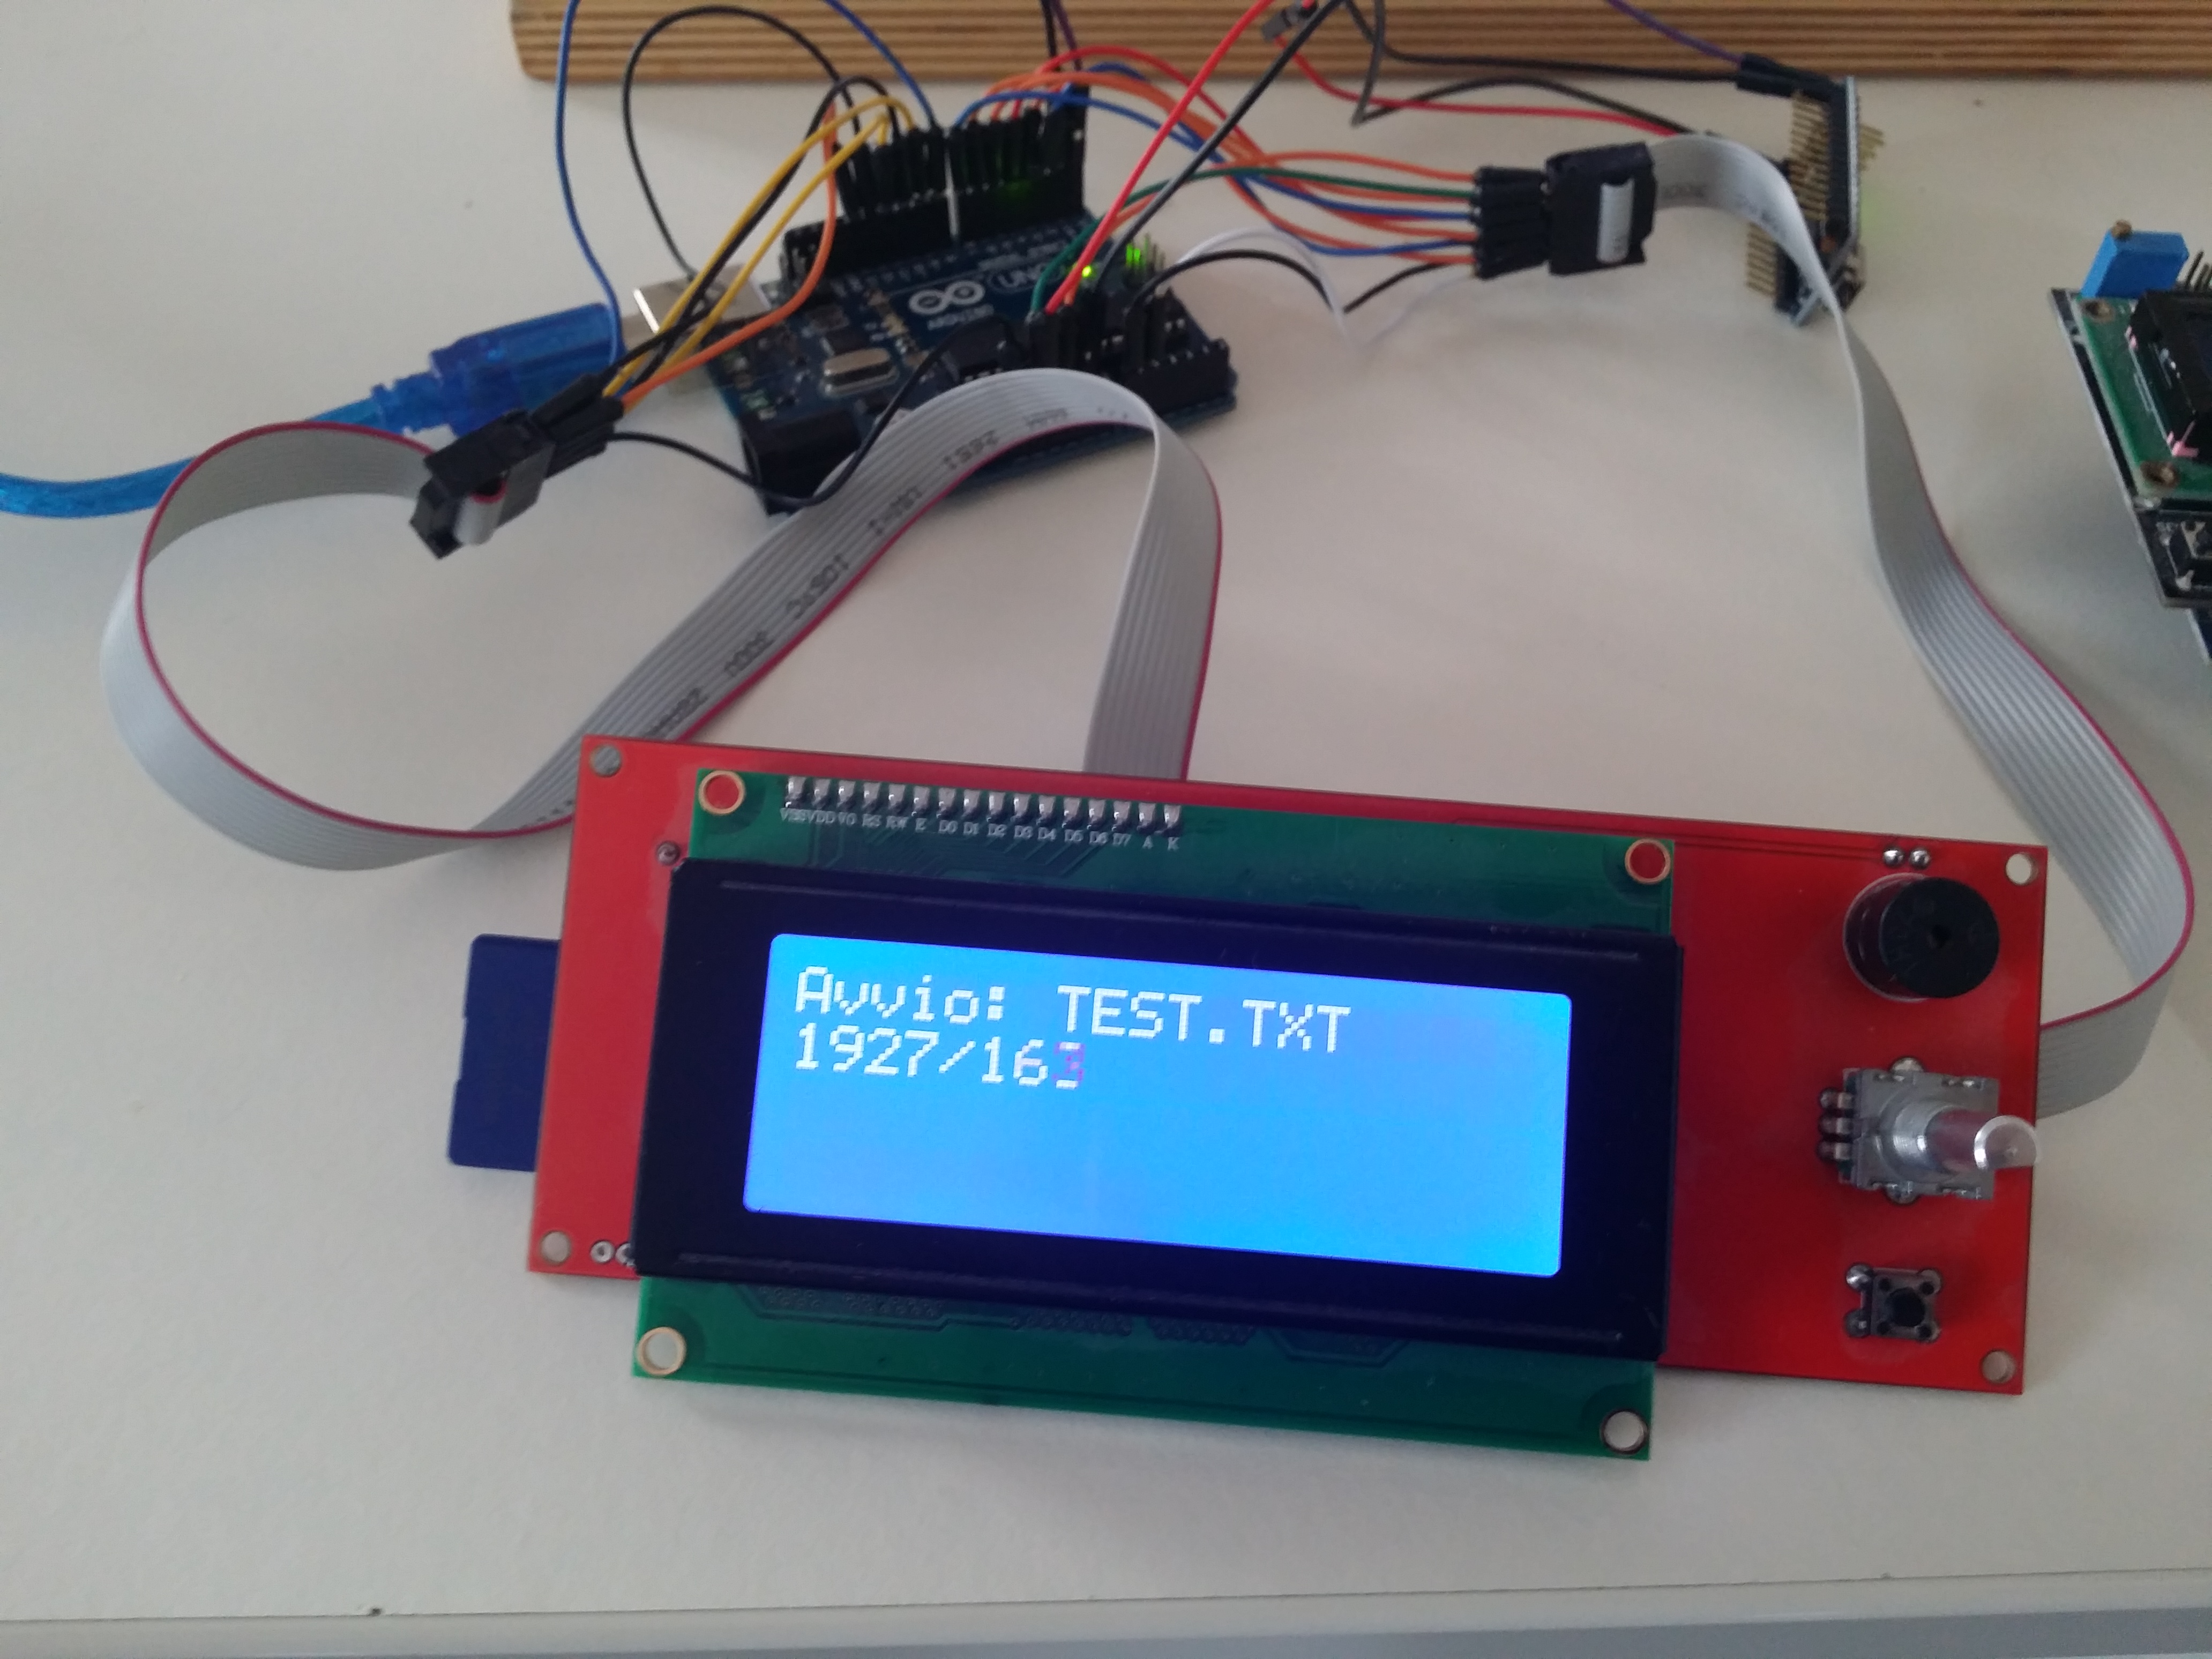
然后我包括照片和视频

无头界面 #717
作者

无头界面 #717

这里有一个修改过的草图,可以与 reprap 智能控制器一起使用:
https ://codebender.cc/sketch:119503

无头界面 #717

你好

这很棒!

为什么?因为我的 USB 连接在 1/2 小时左右后丢失。其原因
是铣削电机电气干扰,….
Windows 休眠,UniversalGCodeSender 的 OutOfMemoryException …. 和/或
许多其他东西。

而且我不想使用 LinuxCNC 或类似的东西迁移到基于 PC 的解决方案。
我使用你的代码,希望我能以我有限的知识启动并运行它:-)

…您的代码有改进版本吗?

最好的祝福

安德烈亚斯

无头界面 #717
作者

嗨,感谢您的反馈
,很抱歉,但我没有其他解决方案,因为存在使 Arduino uno 的 RAM 饱和的风险。
当我有时间的时候我会尝试更好的东西
谢谢
Vincenzo

无头界面 #717

@vince87

第一张草图中的引脚 2 和引脚 3 的功能是什么?我想不通…

我对代码进行了一些修改以使用操纵杆和 i2c 20×4 液晶显示器,并且它可以工作。

无头界面 #717
作者
文斯87 评论了 2017 年 5 月 16 日 通过电子邮件
无头界面 #717
天龙八部 评论了 2017 年 5 月 16 日  

就这个

// GRBL without pc use!
// Shield used: datalogger (for sd), lcd shield
// free pins: A3, 2, 3

#include <Wire.h>
#include <SD.h>
//#include <LiquidCrystal.h>
#include <LiquidCrystal_I2C.h>
//#include <elapsedMillis.h>

String gcd;
char* myfile;

const int chipSelect = 10;
#define _LCDML_CONTROL_analog_pinx A0
#define _LCDML_CONTROL_analog_piny A1
#define _LCDML_CONTROL_digitalread 8 
#define _LCDML_DISP_cfg_button_press_time          200    // button press time in ms
unsigned long g_LCDML_DISP_press_time = 0UL;

String RxString;

int lcd_key     = 0;
int adc_key_in  = 0;

#define btnRIGHT  0
#define btnUP     1
#define btnDOWN   2
#define btnLEFT   3
#define btnSELECT 4
#define btnNONE   5

//String words[6] = {"Attesa GRBL...", "Errore SD", "SD OK!!!", "Errore!!!", "Stop!!!", "Fine invio!!!"};  //Italiano
String words[6] = {"Waiting GRBL ...", "SD Error", "SD OK !!!", "Error !!!", "Stop !!!", "End Send !!!"};

//LiquidCrystal lcd(8, 9, 4, 5, 6, 7);
LiquidCrystal_I2C lcd(0x27, 2, 1, 0, 4, 5, 6, 7, 3, POSITIVE);  // Set the LCD I2C address


void setup()
{
	pinMode(2, INPUT);
	pinMode(3, OUTPUT);
	digitalWrite(2, LOW);
	digitalWrite(3, LOW);
  pinMode (_LCDML_CONTROL_digitalread, INPUT_PULLUP);
	Serial.begin(115200);
	while (!Serial)
	{
		;
	}

	lcd.begin(20, 4);
	lcd.clear();
	lcd.setCursor(0, 0);
	lcd.print(words[0]);
	lcd.setCursor(0, 1);

	//pinMode(10, OUTPUT);
	if (!SD.begin(chipSelect))
	{
		lcd.print(words[1]);
		return;
	}
	
	lcd.print(words[2]);

	//Awake GRBL:
	delay(1000);
  //wait(1000);
	Serial.println("\030"); //Send cr + lf
	delay(500);
  //wait(500);
	while (Serial.available() <= 0)
	{
		delay(5);
    //wait(5);
	}
	while (Serial.available())
	{
		RxString += char(Serial.read());
		delay(10);
    //wait(10);
	}
	lcd.setCursor(0, 0);
	lcd.print(RxString);
	delay(2000);
  //wait(2000);
	RxString = "";
}


// *********************************************************************
// *************** (6) CONTROL OVER JOYSTICK *********************
// *********************************************************************
  // settings
  

  // when you did not use a button set the value to zero
  #define _LCDML_CONTROL_analog_up_min 612 // Button Up
  #define _LCDML_CONTROL_analog_up_max 1023
  #define _LCDML_CONTROL_analog_down_min 0 // Button Down
  #define _LCDML_CONTROL_analog_down_max 412
  #define _LCDML_CONTROL_analog_left_min 612 // Button Left
  #define _LCDML_CONTROL_analog_left_max 1023
  #define _LCDML_CONTROL_analog_right_min 0 // Button Right
  #define _LCDML_CONTROL_analog_right_max 412
// *********************************************************************
// setup
int read_LCD_buttons()
{ 
  
  // check debounce timer
  if((millis() - g_LCDML_DISP_press_time) >= _LCDML_DISP_cfg_button_press_time) {
    g_LCDML_DISP_press_time = millis(); // reset debounce timer

    uint16_t valuex = analogRead(_LCDML_CONTROL_analog_pinx);  // analogpinx
    uint16_t valuey = analogRead(_LCDML_CONTROL_analog_piny);  // analogpinx
    uint16_t valuee = digitalRead(_LCDML_CONTROL_digitalread);  //digitalpinenter

    
    if (valuey >= _LCDML_CONTROL_analog_up_min && valuey <= _LCDML_CONTROL_analog_up_max) { return btnUP; }    // up
    if (valuey >= _LCDML_CONTROL_analog_down_min && valuey <= _LCDML_CONTROL_analog_down_max) { return btnDOWN; }  // down
    if (valuex >= _LCDML_CONTROL_analog_left_min && valuex <= _LCDML_CONTROL_analog_left_max) { return btnLEFT; }  // left
    if (valuex >= _LCDML_CONTROL_analog_right_min && valuex <= _LCDML_CONTROL_analog_right_max) { return btnRIGHT; } // right
    
    if(valuee == false) {return btnSELECT;} // enter

    // back buttons have to be included as menuitem 
    // lock at the examle LCDML_back_button

  }

return btnNONE;  // when all others fail, return this...
  
}
// *********************************************************************
// ******************************* END *********************************
// *********************************************************************


void leggisd()
{
	File root = SD.open("/");
	if(!root)
	{
		lcd.setCursor(0, 0);
		lcd.print(words[1]);
		delay(1000);
    //wait(1000);
		return;
	}
	int i = 0;
	int j = 1;
	lcd.clear();
	while(true)
	{
		while (i != j)
		{
			File entry =  root.openNextFile();
			if (!entry)
			{
				root.rewindDirectory();
				i = 0;
				j = 1;
				break;
			}
			if (entry.isDirectory())
			{
				delay(10);
        //wait(10);
			}
			else
			{
				i++;
				myfile = entry.name();
				lcd.clear();
				lcd.setCursor(0, 0);
				lcd.print(j);
				lcd.print(">");
				lcd.print(myfile);
			}
			entry.close();
		}

		delay(100);
    //wait(100);
		lcd_key = read_LCD_buttons();
		if ( lcd_key == 2)
		{
			if (j > 1)
			{
				j--;
				delay(500);
        //wait(500);
			}
		}
		if ( lcd_key == 1)
		{
			j++;
			delay(500);
      //wait(500);
		}
		if ( lcd_key == 0)
		{
			delay(10);
      //wait(10);
			root.close();
			stream(myfile);
			break;
		}
	}
}

void stream(char *myfile)
{
	int nstrm = 0;
	int nstr = 0;
	File strFile = SD.open(myfile);

	while (!strFile.available())
	{
		delay(1000);
    //wait(1000);
		return;
	}
	while (strFile.available())
	{
		gcd = strFile.readStringUntil('\n');
		nstr++;
	}
	lcd.clear();
	lcd.setCursor(0, 0);
	lcd.print("Stream!!!");
	delay(1000);
  //wait(1000);
	lcd.clear();
	lcd.setCursor(0, 0);
	lcd.print("Starting");
	lcd.setCursor(7, 0);
	lcd.print(myfile);
	delay(1000);
  //wait(1000);
	strFile.seek(0);
	while (strFile.available())
	{
		gcd = strFile.readStringUntil('\n');
		gcd = gcd.substring(0, gcd.length() - 1);
		Serial.print(gcd);
		Serial.write(0x0A); // seguita solo da /n (LF)
		Serial.flush();
		nstrm++;
		lcd.setCursor(0, 1);
		lcd.print(nstr);
		lcd.print("/");
		lcd.print(nstrm);
		lcd.print(" ");
		while(RxString.lastIndexOf('ok') <= 0)
		{
			while (Serial.available() <= 0)
			{
				delay(5);
        //wait(5);
			}
			while (Serial.available())
			{
				RxString += char(Serial.read());
				delay(10);
        //wait(10);

			}
			if ( RxString.lastIndexOf('error') > 0)
			{
				lcd.clear();
				lcd.setCursor(0, 0);
				lcd.print(RxString);
				lcd.setCursor(0, 1);
				lcd.print(words[3]);
				RxString = "";
				strFile.close();
				delay(1000);
        //wait(1000);
				break;
			}
		}
		RxString = "";
		lcd_key = read_LCD_buttons();  // read the buttons
		if ( lcd_key == 4)
		{
			lcd.clear();
			lcd.setCursor(0, 0);
			lcd.print(words[4]);
			delay(1000);
      //wait(1000);
			strFile.close();
			break;

		}
	}
	lcd.clear();
	lcd.setCursor(0, 0);
	lcd.print(words[5]);
	delay(2000);
  //wait(2000);
	strFile.close();
	return;
}


void loop()
{
	lcd_key = read_LCD_buttons();

	if ( lcd_key == 4 )
	{
		//delay(10);    //Select

		leggisd();
	}
	
}


/*
  void wait(unsigned long alfa){
  elapsedMillis waop;
  while(waop < alfa){
    }
  }

*/

实际上我正在使用这个库做一个更复杂的界面

https://github.com/Jomelo/LCDMenuLib

PD 我正在研究同时在 3 个轴上显示坐标以执行 gcode、marlin 样式和手动工具更改的慢跑支持。

PD Joystick 控件此时仅用于浏览和选择要播放的文件。

问候

无头界面 #717

这对 grbl 1.1 有效吗?

无头界面 #717
天龙八部 评论了 2017 年 5 月 16 日  

@vMeph
是的,但是特殊字符在启动时没有在屏幕上正确显示,我在 grbl 1.1 上尝试了 +17000 行 g 文件并且没有崩溃。

但是,它需要改进以提供更多功能并在运行时在液晶屏幕上显示坐标。

干杯

无头界面 #717

如果这可以 通过使用第二个 arduino 使用此
#1125来实现,那么 将 rox specialy 与那些带有编码器的 lcd,例如在 marlin 3d 打印机软件中使用的编码器

无头界面 #717
作者

@dragoblaztr
太棒了,你什么时候可以告诉我们?菜单的想法很棒,但我认为需要更复杂的硬件..(32u4?M0?),所以你也可以选择 PC调试和更复杂的 gcode 流式传输(10/20MB 现在冻结为 5/6MB)。
问候

无头界面 #717

@vince87,@vMeph

这就是我的想法,实际上我正在使用 Mega 来运行测试,我打算用它来运行,而不是用 uno。除了在未来的版本中使用 tft LCD 而不是 I2c 之外,我的想法是让它像一个 cnc 面板一样用于慢跑、读取和编辑 cnc 代码以及在没有 PC 的情况下进行流式传输(使用编码器、操纵杆、键盘等)任何努力都很好完成收到。

无头界面 #717

当一切都解决后,这将是非常棒的!感谢大家的辛勤工作!

无头界面 #717
109JB 评论了 2017 年 5 月 17 日  

它需要一种将工作坐标归零的方法。

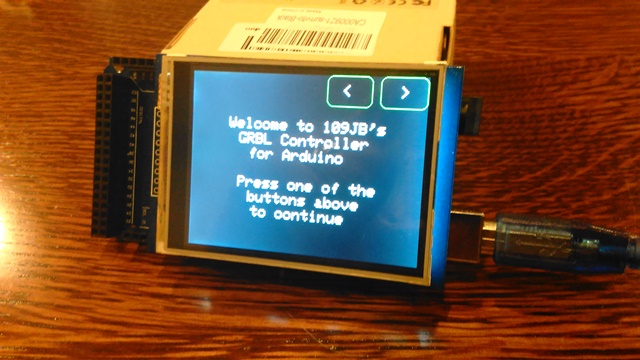
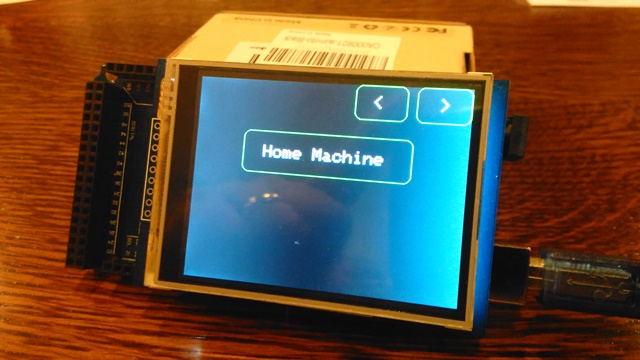
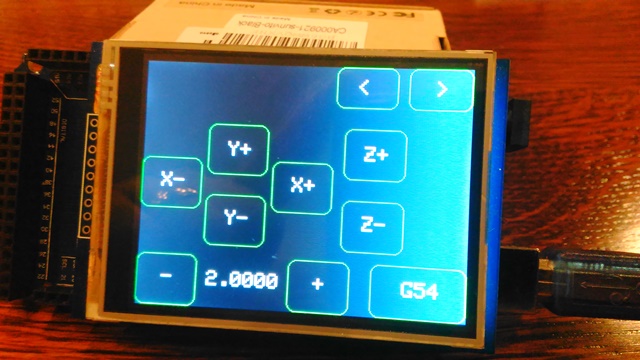
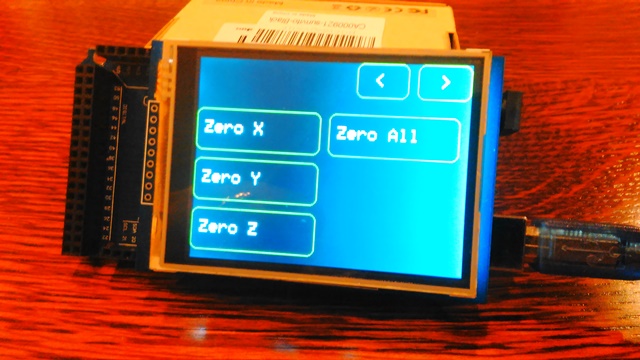
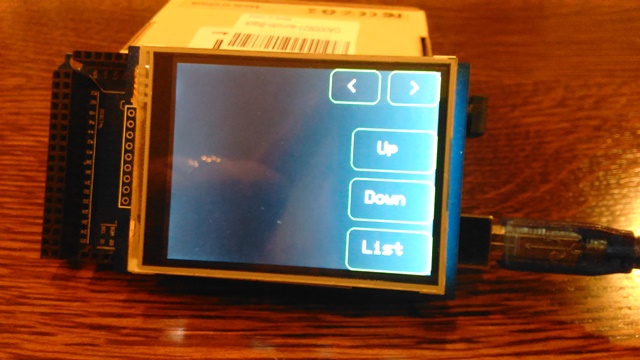
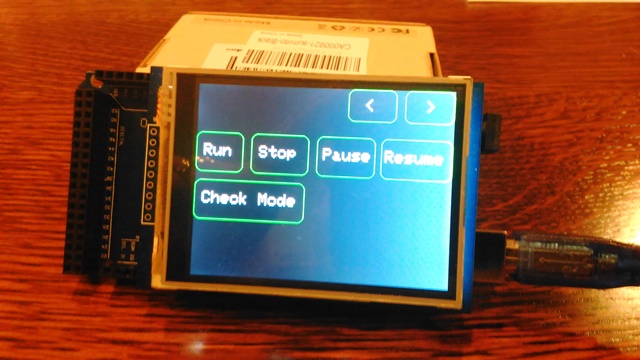
几年前,我在 Mega 2560 上使用 SD/触摸屏 LCD 制作了一个。它可以工作,但对我来说太慢了。我已经实施了慢跑、归零、跑步等,但工作量太大而回报太少。我回去使用我的上网本。这是我所做的几张照片。它有 3 个轴的 DRO,是为 Grbl 0.9 编写的。图片没有显示 DRO,因为这是用主机 arduino 拍摄的,没有连接到启用 Grbl 的 Arduino。DRO 在屏幕的左上角显示工作坐标。另外一张大部分是空白的图片没有显示任何内容,因为没有安装 SD 卡。那个通常会显示一个文件列表。

无头界面 #717
无头界面 #717
无头界面 #717
无头界面 #717
无头界面 #717
无头界面 #717

.ino 文件在这个文本文档中,如果有人想玩的话。我不认为触摸屏是可行的方式,TFT 也可能太多了。我认为像您使用的单色 LCD 最好保持速度。

GRBL_Head.txt

无头界面 #717
成员

这是前一段时间的另一个类似项目,我认为这个项目介于 GUI 和 Grbl 之间:https ://github.com/xpix/XLCD/wiki

无头界面 #717

@109JB
感谢您分享您的代码,我会看看。

正如我之前所说,第一个版本带有 I2C 显示器,并且取决于结果是否适用于 tft。

@winder
我已经在我的研究中看到了这一点,我会记住它。

@ 每个人

欢迎对第一个版本提出想法和要求。

在这一点上,正如我所说,主要功能是:

  • 支持在没有 PC 的情况下读取 SD 和流式传输 GCode
  • 在代码或慢跑运行时显示坐标(工作或机器)。
  • 慢跑支持
  • 与按钮交互时发出蜂鸣声
  • 通过编码器、操纵杆、键盘(其他设备待定)进行连接。

如果我忘记了主要想法,请告诉我。

干杯

无头界面 #717

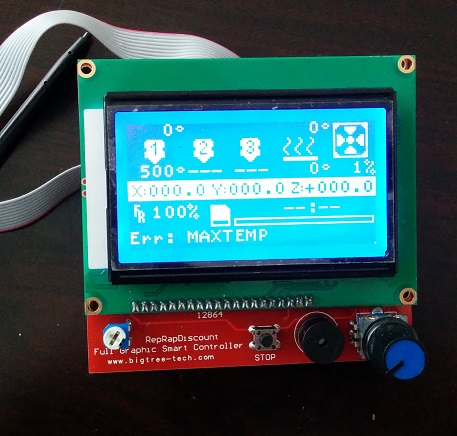
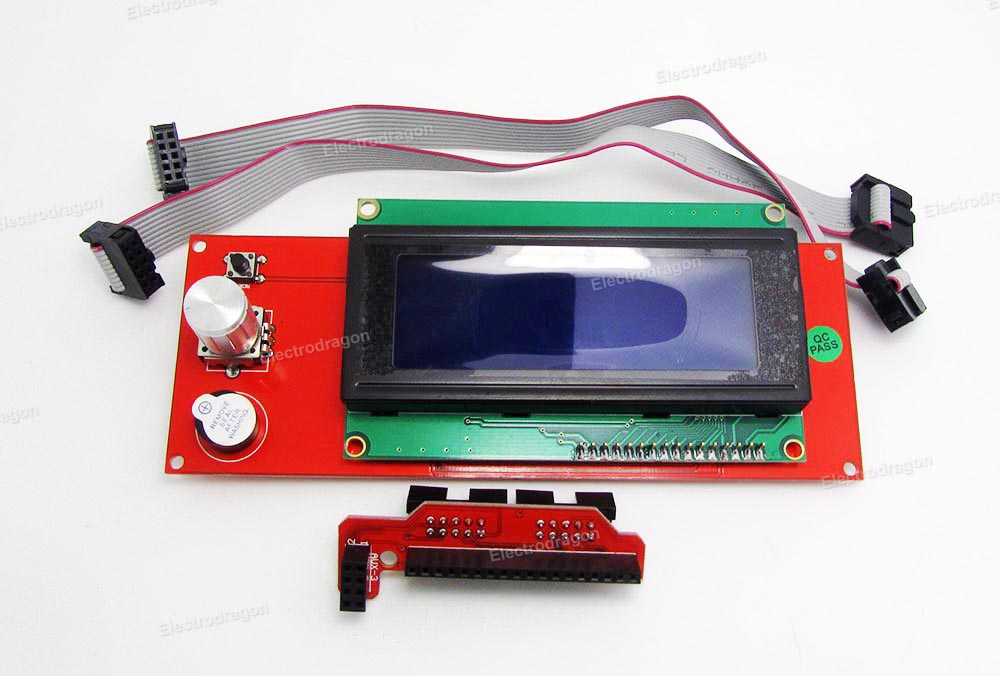
像他们在 3D 打印机中使用的大屏幕 lcd 这样会 rox
无头界面 #717

它有enconders,蜂鸣器,sd卡

无头界面 #717

@vMeph
会的,但是有一个问题,我没有那个显示器来做测试……

无头界面 #717
作者

无头界面 #717
无头界面 #717

它今天到了,终于在将近 2 个月后……我一尝试就告诉你,它们应该与 raprap 智能显示器或全图形智能控制器一起使用!

无头界面 #717

凉爽的

无头界面 #717

@vince87
问题是它没有通过 SD 卡流式传输代码的功能……此外,我不久前在 arduino uno 上尝试过对引出线进行相应的更改。

无头界面 #717

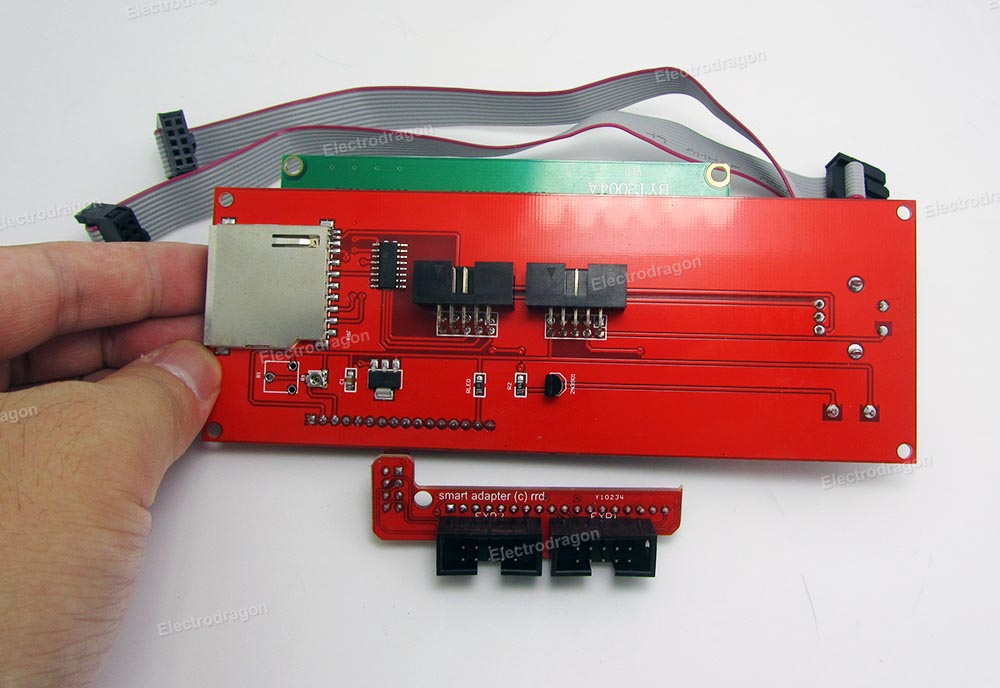
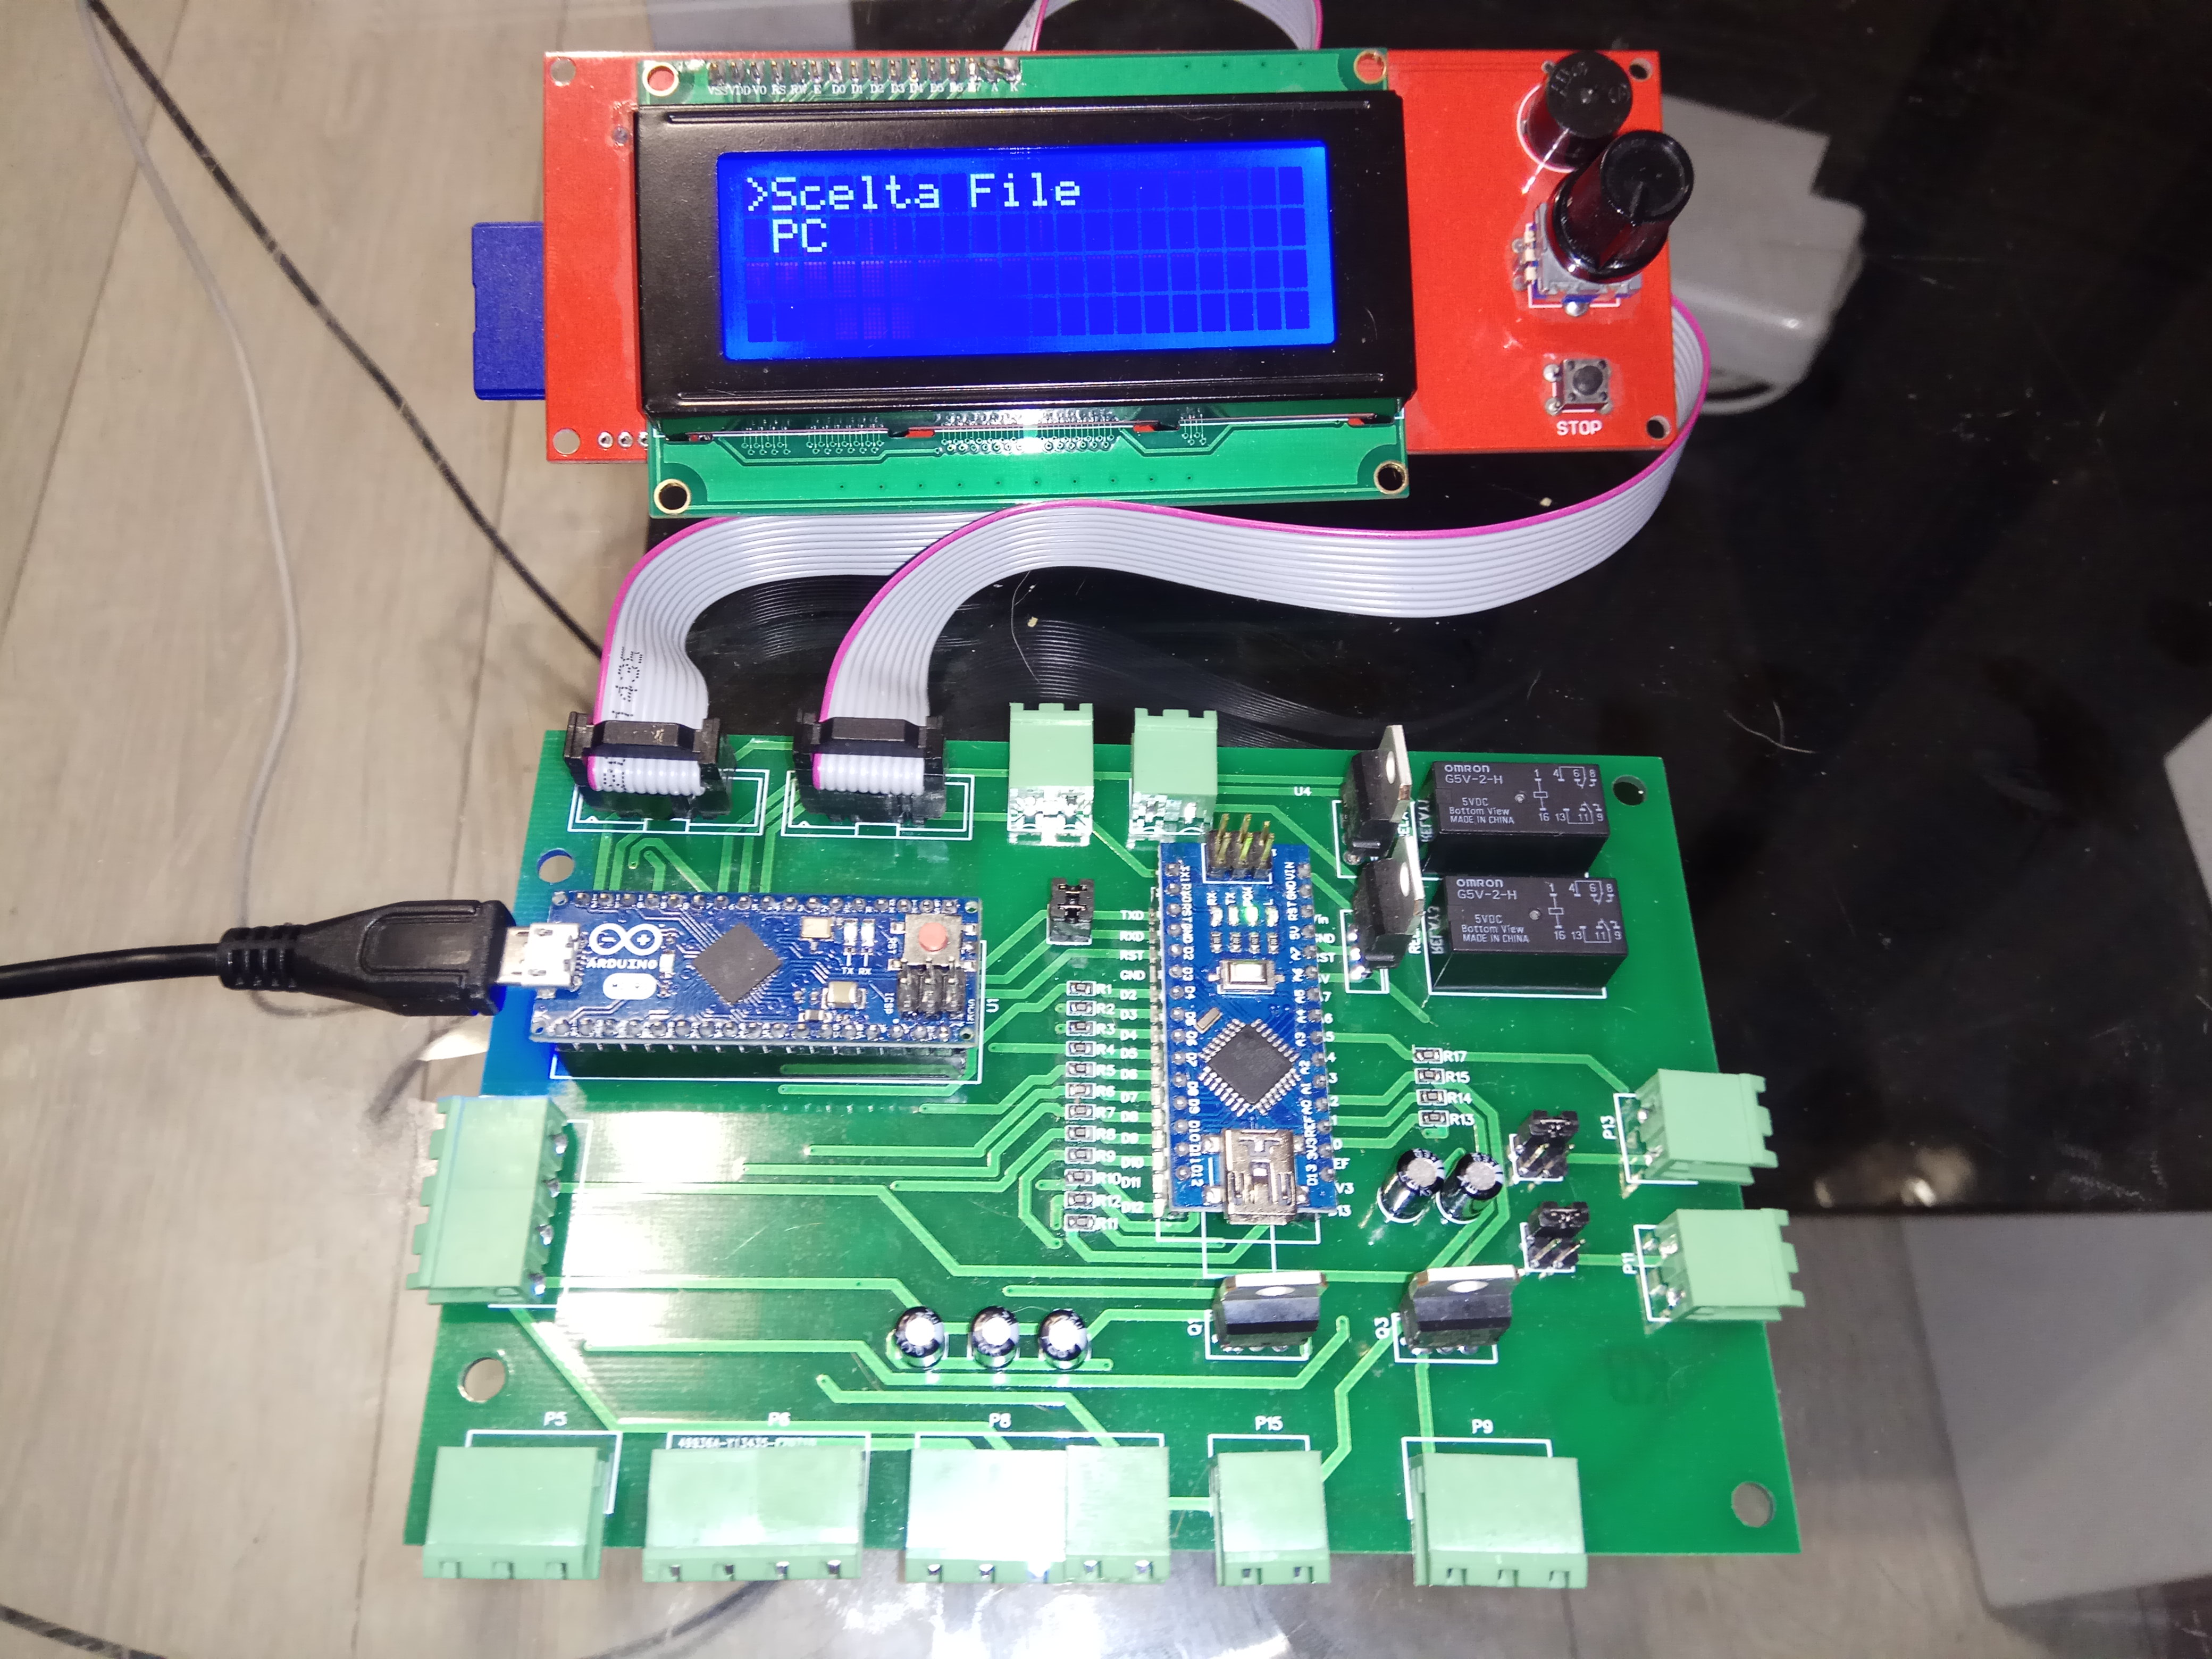
图中的电路板似乎有 10 针连接器,用于连接 3d 打印机智能控制器。然后 SD 将位于智能控制器中,这意味着电路板不需要它。

无头界面 #717

你是什​​么意思@109JB 带SD卡的智能控制器有2条10针的电缆,

无头界面 #717

是的,图中的电路板有用于 2 个 10 针电缆连接器的点。由于智能控制器上有SD卡,上一篇的板子不需要SD卡槽,因为智能控制器上的SD卡槽可以用。

无头界面 #717
作者
文斯87 评论了 2017 年 6 月 24 日  

无头界面 #717
无头界面 #717

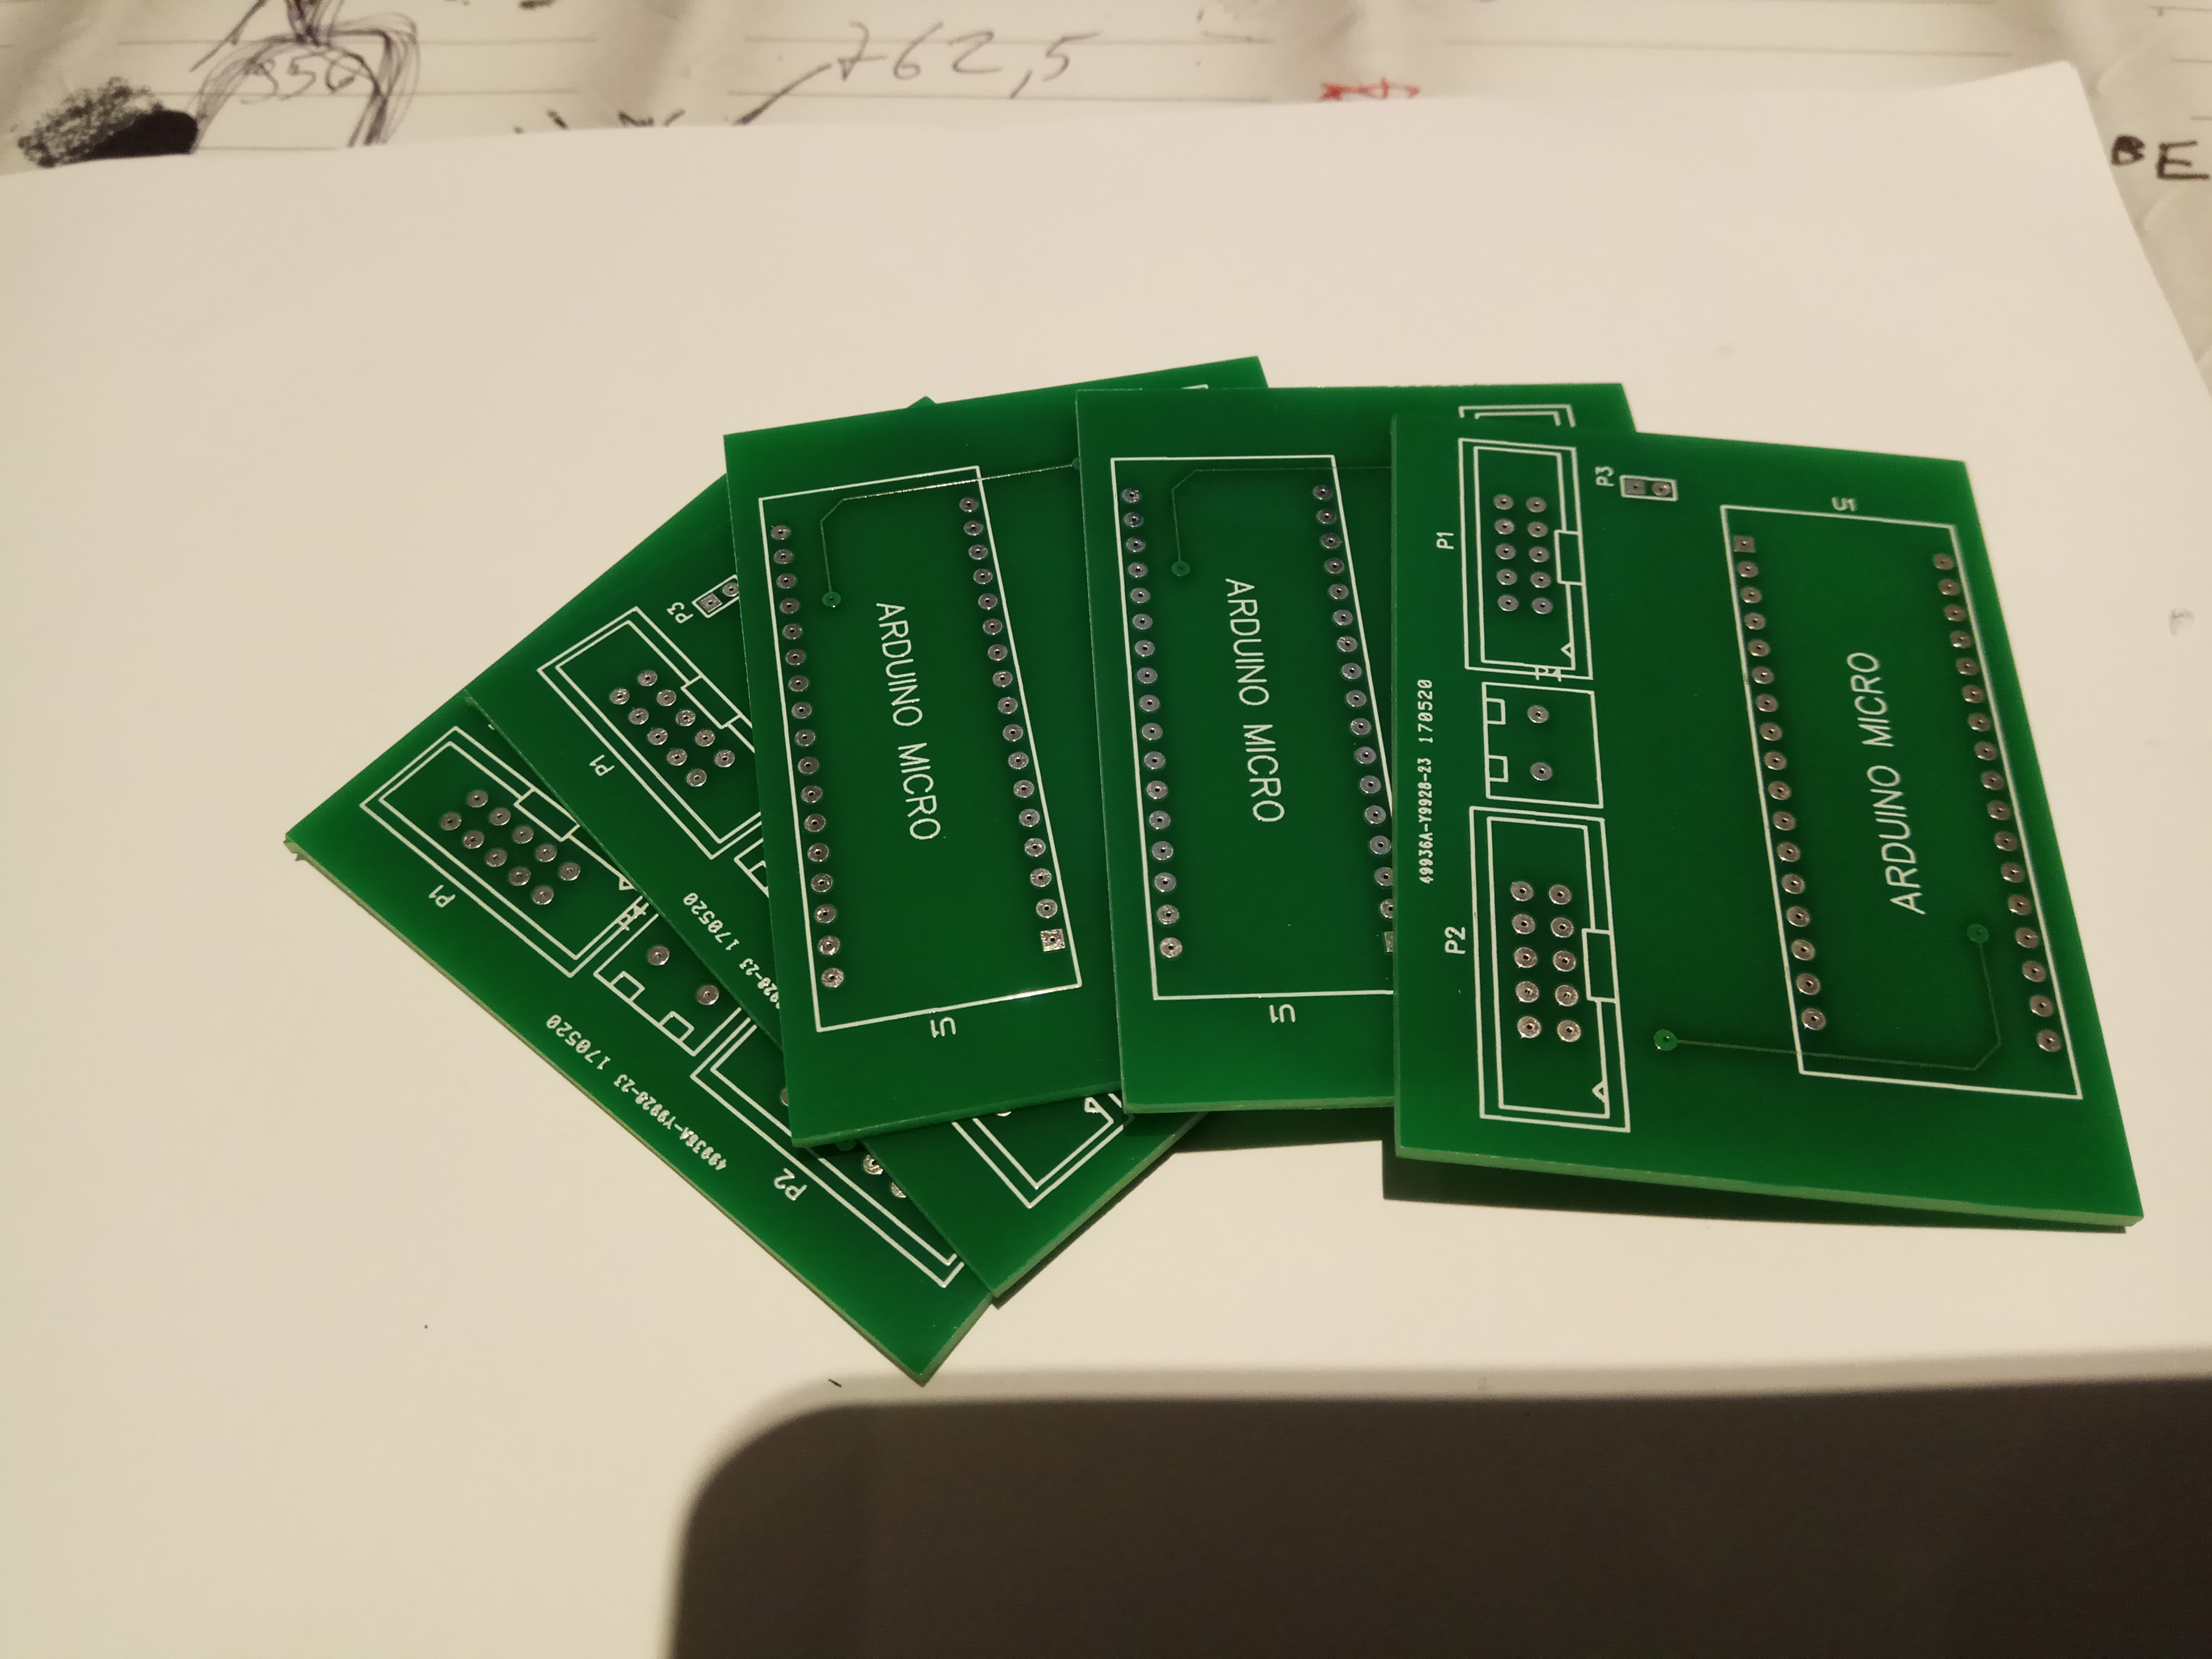
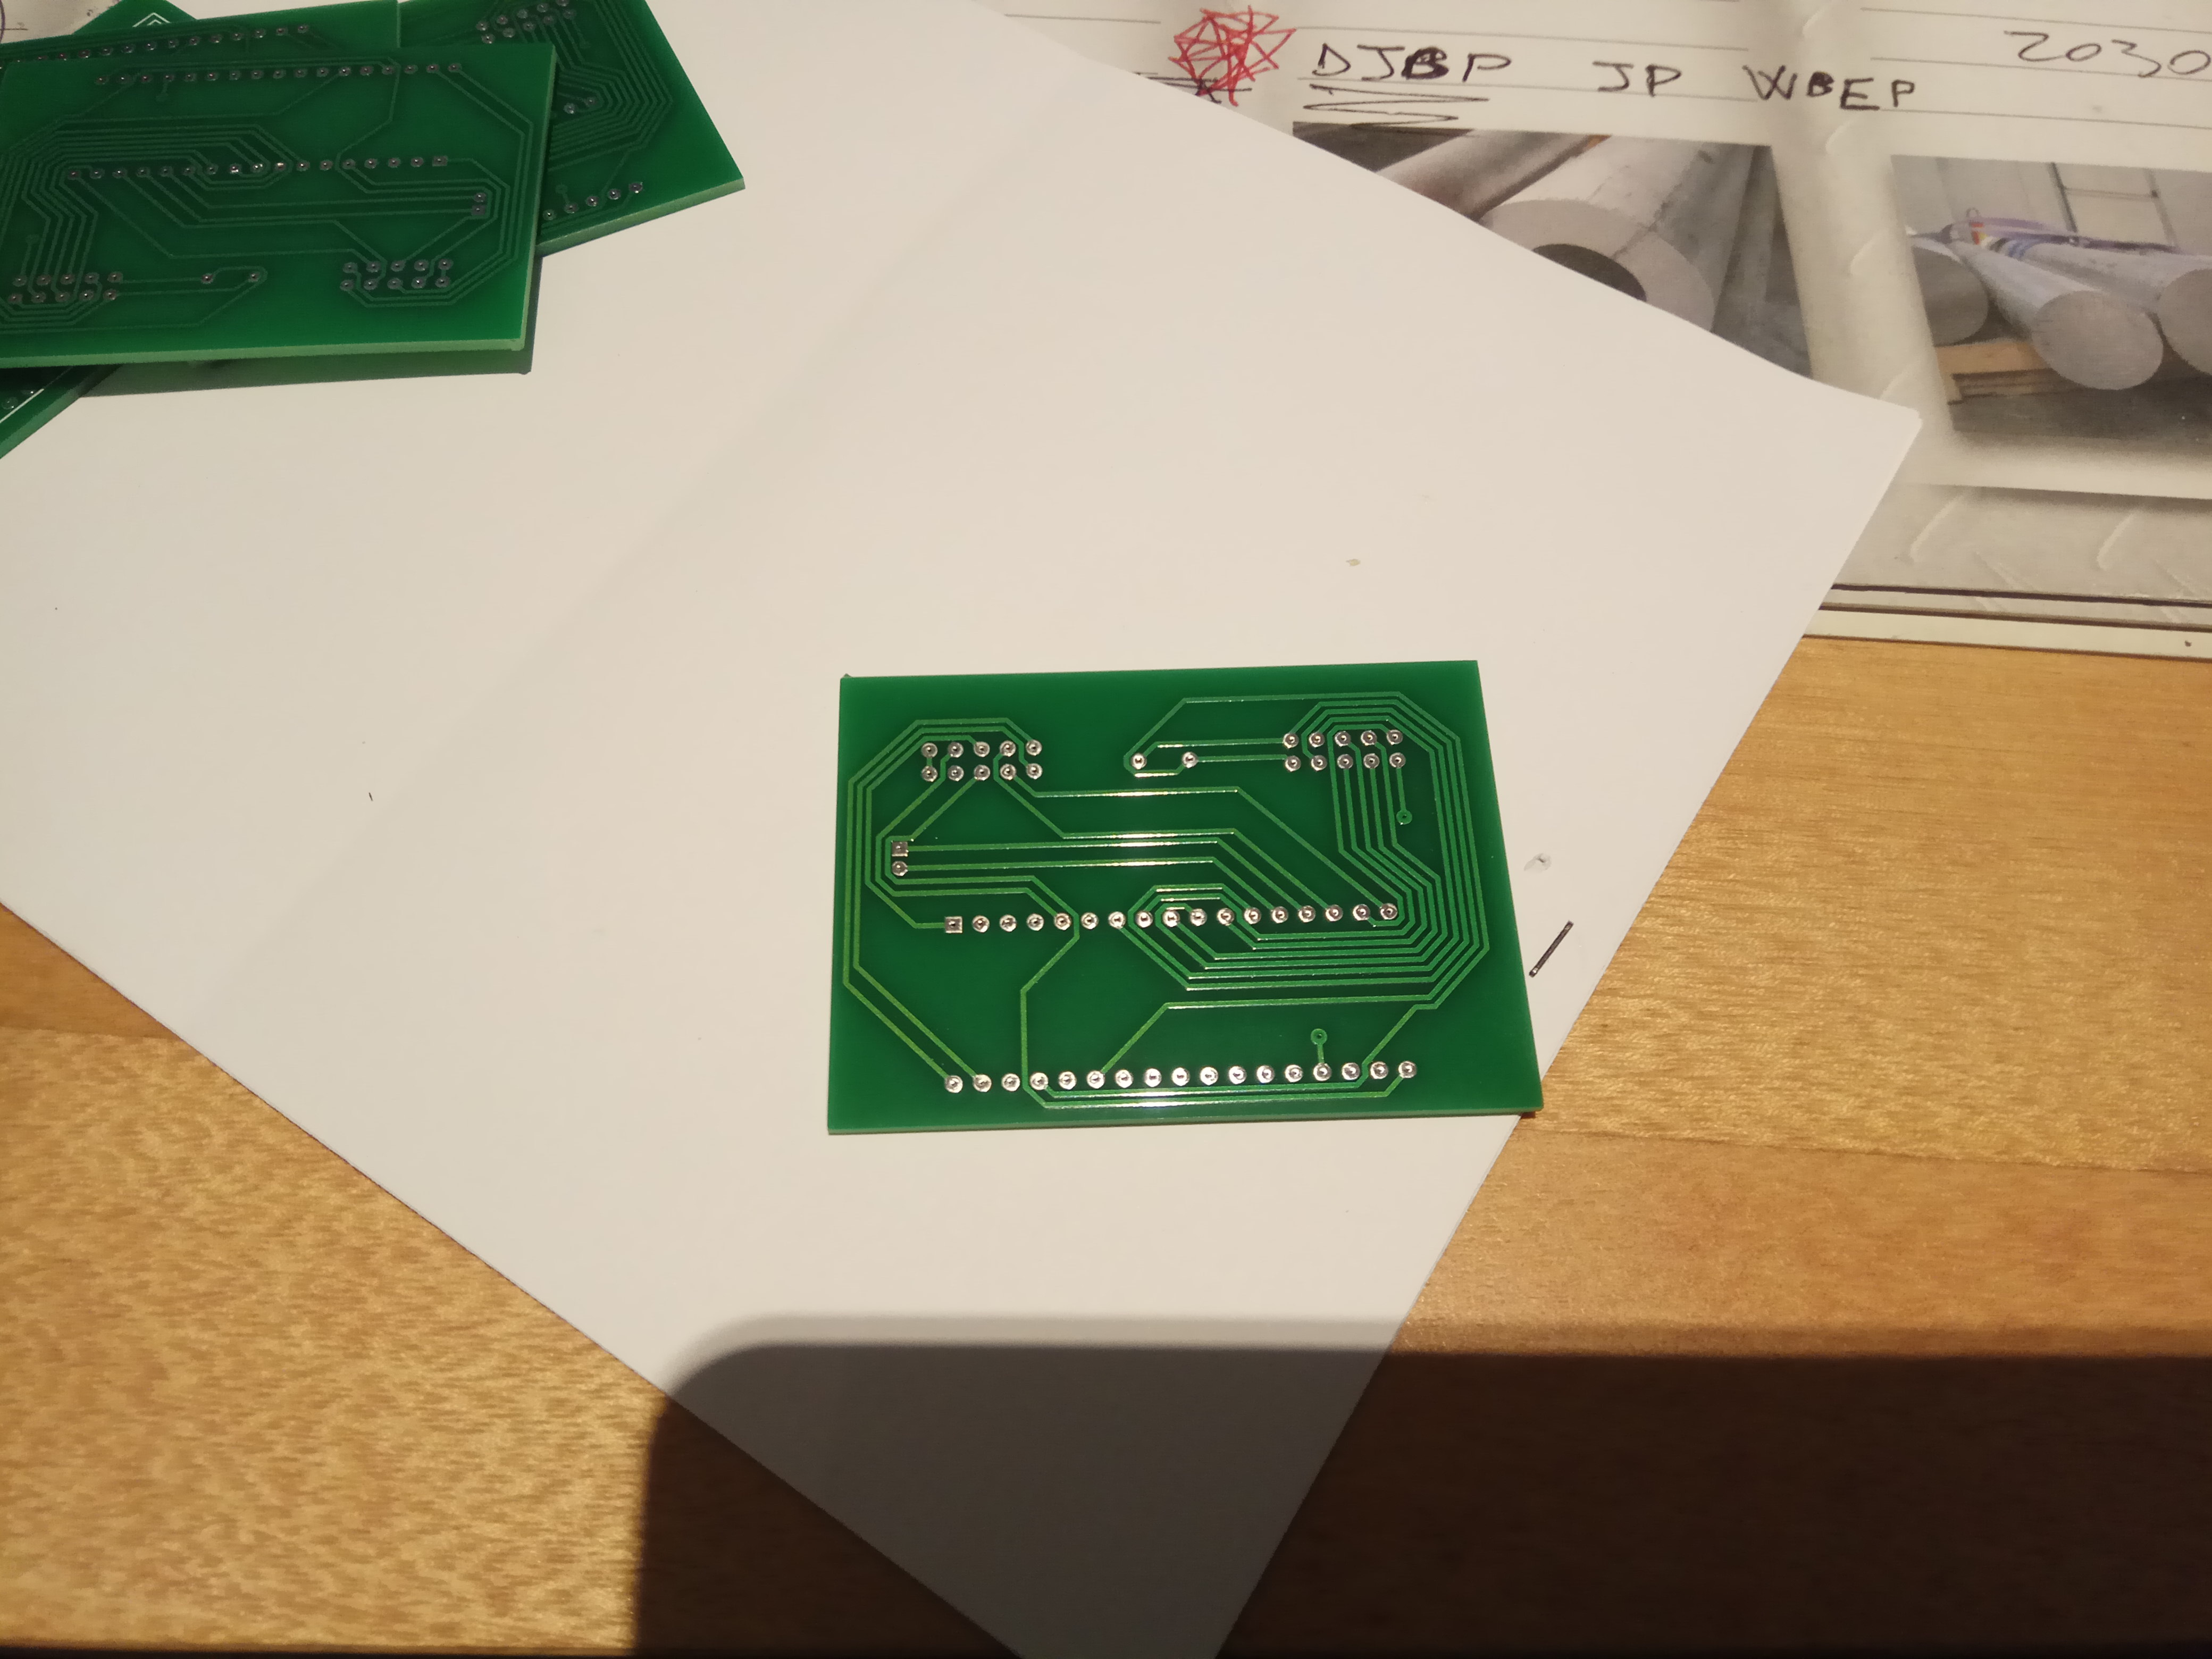
@109JB You’re right! I have made a screw terminal for power supply and 2 10-pin connector for the reprap smart controller or the big full graphic smart controller, and a 2 simple pin to connect the serial pins of grbl!

无头界面 #717
Author

无头界面 #717
Hi guys, here’s the new improved version of my PCB.
Software still needs to improve but at least it works !!!

Here the code…

// GRBL senza uso del pc!

#include <SoftwareSerial.h>
#include <SD.h>
#include <LiquidCrystal.h>

喜欢 (0)